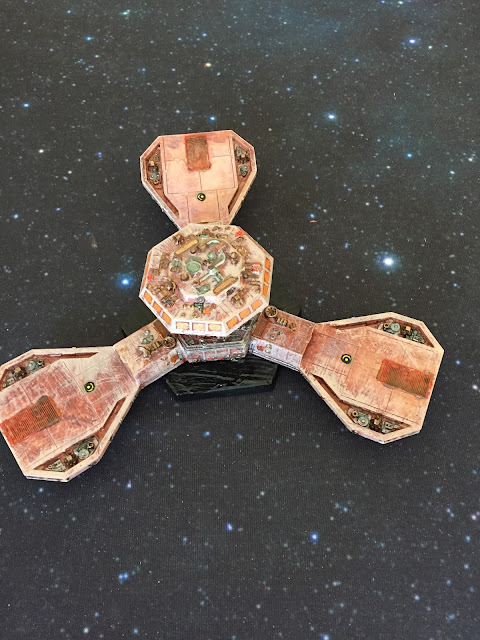
Kzinti Battle Station No.1 - second battle
No photos, this time, I'm afraid. I played this one on a winter's weekday evening, and the pictures were rubbish. However, this was a short, sharp and rather vicious engagement, so I hope the narrative will work regardless. Fleet compositions:
The Kzinti set up their relatively small contingent of ships close to the Battle Station for added protection. The centre left of the area contains their Light Carrier group with nine fighters deployed in front; behind and to their right are the two cruisers. The Carrier Tug and its accompanying Scout Drone Frigate set up directly behind the Battle Station, with a full squadron of twelve fighters. The station has no fighters of its own, since almost an entire squadron was destroyed in the previous battle. Off to the right of the station and held back a little are the last two Kzinti ships, a Frigate and Drone Frigate.
The Lyrans warp in hard and fast. Facing the Kzinti Carrier group are two Frigates, two Destroyers and two Light Cruisers. Their centre comprises another two Light Cruisers; unfortunately for them, they are closest to the Battle Station. The Lyran left has a War Destroyer Squadron and, deployed at the extreme left of their line, the flagship, a massive Battlecruiser. Basically, this lot was always intended to follow up after the first attack wave of heavier ships; now that those have warped out to prepare themselves for another possible pass after repairing any damaged shields, this second wave of mostly smaller vessels has arrived, intending to attrit the defenders even further.
The battle resolves itself into two main areas. The first, on the Kzinti left, sees the Lyrans lose two Destroyers and two Light Cruisers blown apart by the carrier and its fighters - lots of drones plus a Battle Station! They also have a Frigate and a Light Cruiser crippled, the latter by supporting fire from the Command Cruiser and Battle Station. Here, the Kzinti fighter squadron is wiped out and the Escort Frigate from the carrier group is crippled.
At the Kzinti centre right, the attackers lose a War Destroyer vaporised by the Battle Station, ably supported by the Fast Battlecruiser and Carrier Tug. This particular Lyran is unlucky enough to be targeted by the Tug's fighter drones; although it destroys those, it has no juice left when the larger vessels arrive properly. In addition, a Lyran Light Cruiser is heavily damaged in this part of the battle by the power of the Battle Station. In return, the Lyran Battlecruiser swoops in from the far flank to destroy the Kzinti Drone Frigate, and the other Frigate is severely damaged.
Having accomplished their flypast mission, the remaining Lyrans leave the area. Their fleet has been severely depleted, but the damage they have done in return leaves the Kzinti with no choice but to evacuate the Battle Station and set demolition charges. They no longer have enough fighters and undamaged ships to keep up a solid defence, and with the Lyran heavier craft readying for another assault, the Constable reluctantly orders a tactical withdrawal. This is exactly what he has been commanded to do in the circumstances because preservation of the ships is the main aim of overall Kzinti strategy. Basically, they are prepared to fight fiercely in defence of the border stations until it looks as though any further combat will result in severe losses to the fleet itself; they will then exchange the stations so that the ships can live to fight another day. Here, at least, the strategy has been successful.


Comments
Post a Comment