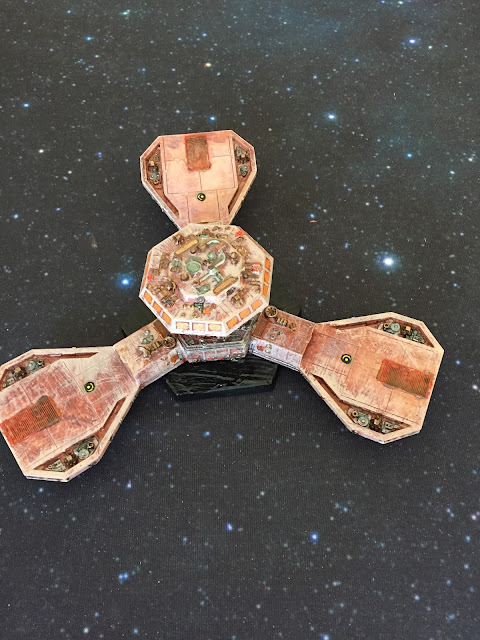
Klingons and Hydrans, Second Helping
The Klingons have moved a decent force toward their second target, which is ably defended by the Hydran Expeditionary Fleet:
Although the Klingons are led by a Command Cruiser, in this instance they have a decent number of the newer war cruisers. The Hydrans as usual have relatively little in the way of reserve vessels, but because this is their Expeditionary Fleet, the one thing they do have - unfortunately for the Klingons - is a large number of reserve fighters.
The Battle intensity Roll is not kind to the Klingons, but then they probably don't want to be too aggressive in the first few battles because of all those Hydran fighters; a Klingon fleet with orders to disengage after a quick pass is more likely to survive - or at least take a bit less damage. Here is how it goes. The Klingon fleet deployment is relatively wide, while the Hydrans are more concentrated.
1: The fighter melee goes against the Klingons, as is only to be expected. It's not as bad as it could have been, mainly because the F5-class vessels join in to help the little guys.
2: The Cuirassier flotilla takes on the D5 squadron which is holding the leftmost position on the Klingon line. The Hydrans know they will lose, but there are three Dragoon Heavy Cruisers ready to follow up here. The Cuirassiers shred the shields on the two D5 War Cruisers, but in return the Klingons cripple two of the annoying Hydran frigates and drive off the third with heavy damage.
3: The Hydran destroyers see an opportunity on the other side of the Klingon line: the D7C and F5S are relatively isolated, so in goes the flotilla, with the Lancer and its fighters taking point. The D7C takes out the Lancer's front shield and destroys all the fighters, but the fusion destroyer slides in on its fresh no.6. The Hydrans go for a full overrun, and nail both Klingons ships with deadly precision: scratch a Command Cruiser and a Scout!
4: The Klingons leave.
Battle Two:
The Klingons more or less replace their losses like for like, while the Hydrans are now down three ships:
The Klingons have enough fighters left from the first battle to make it worth keeping the D6CV in the line, with its useful little E4 Carrier Escorts - the number of anti-drones they carry makes them effective against Hydran fighters. The F5V Light Carrier is replaced by an F5C Frigate Leader. The Hydrans partly make up for the loss of their three Cuirassier Frigates by feeding a full fighter squadron forward into the line from their second Liege Dreadnought. They don't want to risk that ship itself, since it is their only replacement command ship - in fact, it's their only reserve combat ship. They do, though, make use of the FCR fighter replacements as well as some from the Fighter Conveyor Pallet on the Tug; the FCR is sent to the rendezvous point. The Hydrans would normally leave at this point since their main line is weakened, but they want to take advantage of all of those replacement fighters to keep damaging Klingons. Besides, to retreat after taking out a Command Cruiser and a Scout would probably be unacceptable to the folks back in the Hydran high command.
This time the Klingons stick around a bit longer, enough to destroy 30 fighters, and warp out just before the reinforcing fighters reach the main part of the action, Even so, the attrition on the attackers is, as usual, really nasty. Here's how this one plays:
1: Nine Stinger-II fighters engage the F5Q. The fighters are destroyed, but they cripple an enemy Frigate.
2: The combined central fighter force on the Hydran side (everything from the BATS, DNF and Lord Bishop Command Cruiser) wipe out the enemy fighters and then attack the D7 wing. The Klingons fend them off, pretty much destroying all of them, but at the cost of almost all their own power. The Hydran Destroyer flotilla takes the opportunity to get in close and personal with the D7s, destroying one completely and forcing another to leave with heavy damage. The D5 War Cruisers see their own opening for a good attack and take the Hydran flotilla from behind, destroying the Lancer's fighters and forcing that particular Destroyer to leave with heavy damage. This is the main part of the action, as it turns out.
3: The final act comes when the three Dragoons blow away the second F5 Frigate.
Battle Three:
Given the attrition on their fighters, this may well be the last combat the Hydrans can risk without taking too much damage on valuable heavier ships. The Klingons are completely out of fighters and are having to send in some less powerful vessels, but even so they still have a decent number of ships waiting their turn:
The problem the Hydrans have is the sheer cruiser power of the Klingon force, with all those disruptors and phasers poking out at every angle. This will enable the Klingons to concentrate on the enemy fighters and smaller vessels, which should have the effect of making the tenacious little sods leave the Battle Station, and indeed this is what happens. The Klingons wipe out huge numbers of fighters, and the D5 Squadron cripples one Knight Destroyer and heavily damages the other. However, this has the cost the D5s their weapons power, not to mention quite a few shields, and the Hydran command element overruns them. It is not pretty - not a single D5 survives. The Klingons leave.
However, the Hydrans are no longer capable of mounting a proper defence without risking their most expensive ships, so they evacuate the base personnel and blow the station with charges.


Comments
Post a Comment